If you’re looking to add some custom flair to your next project, metal stamping is a great way to do it.
This popular crafting technique can be used on a variety of materials, from leather to wood to metal. And with a little bit of practice, anyone can create beautiful, one-of-a-kind designs.
In this how-to guide, we’ll walk you through the basics of metal stamping. From selecting the right stamps and materials to creating your design, we’ll cover everything you need to know to get started.
So grab your supplies and let’s get started!
Contents
What Custom Metal Stamping Is and What Types of Materials It Can Be Used On
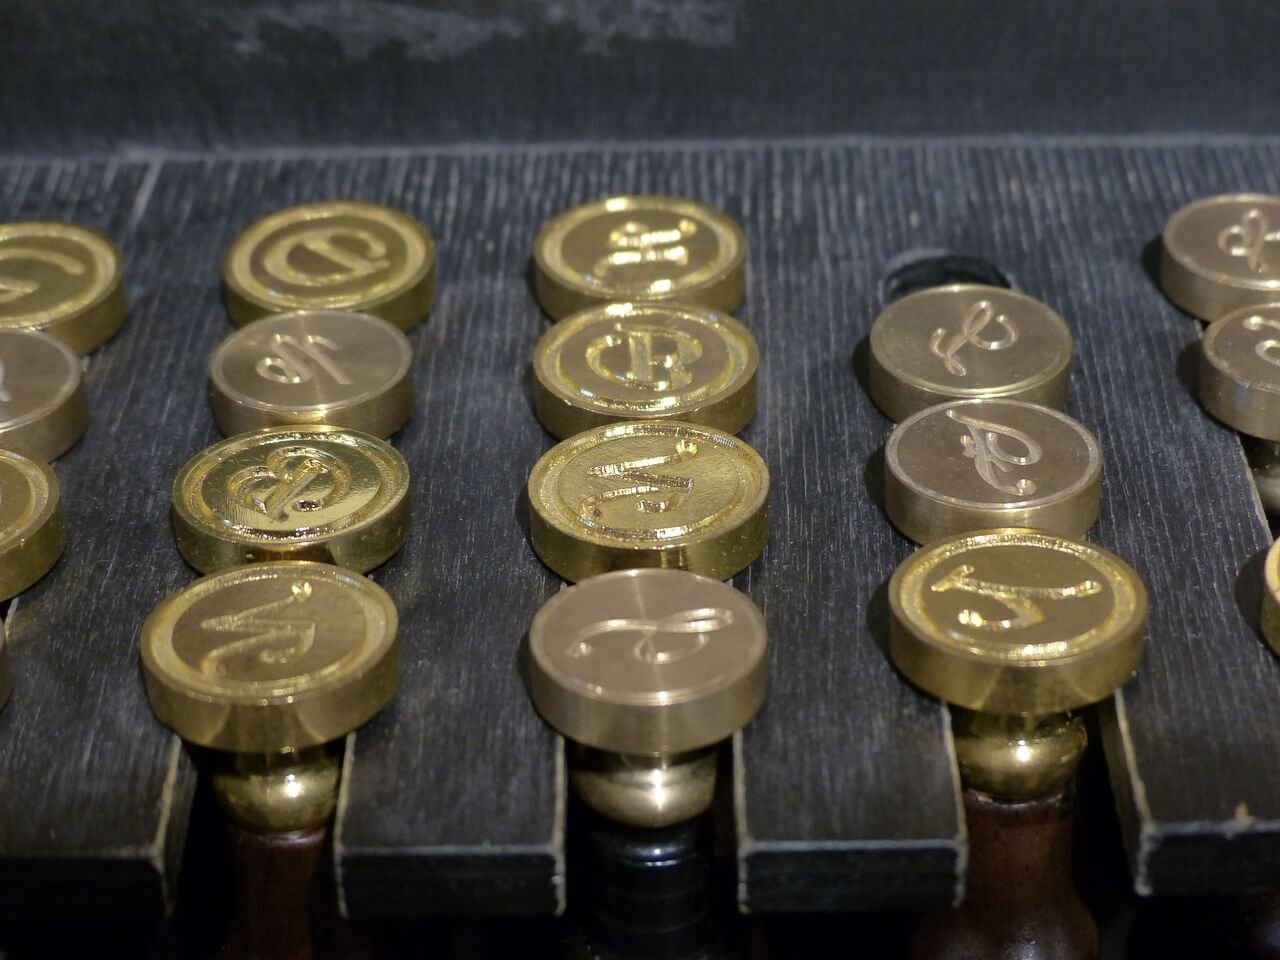
Custom metal stamping is a process that involves impressing a design or pattern onto a metal surface. It can be used on a variety of metals, including steel, copper, aluminum, and brass.
The process begins by using a die to cut the desired shape out of a metal sheet. The die is then placed on a press, and the metal sheet is fed through the press. As the metal passes through the press, the die stamps the design onto the surface of the metal.
Metal stamping is an efficient way to create accurate and intricate designs on metal surfaces. It can be used for a wide range of applications, including industrial parts, automotive components, and decorative items.
The Different Tools and Equipment You’ll Need to Get Started
Custom metal stamping is a great way to add a personal touch to your jewelry, crafts, and other projects. But before you get started, you’ll need to gather the right tools and materials.
Here’s a quick guide to help you get started:
- A custom metal stamping kit.
This will include the stamps themselves, as well as a hammer and some other basic tools.
- A piece of metal to stamp.
You can use anything from old coins to a slab of steel. Just make sure it’s thick enough to withstand repeated stamps.
- A piece of soft leather or cloth.
This will protect your work surface from scratches and dents.
- Anvils or other hard surfaces.
You’ll need something sturdy to stamp on so your metal doesn’t bend or break.
With these supplies in hand, you’re ready to start stamping!
Custom metal stamping is a great way to add personality to your projects, and with the right tools, it’s easy to get started.
How to Design Your Own Metal Stamps
Designing your own metal stamps is a fun and easy way to add a personal touch to your jewelry.
The first step is to choose the design you want to use. This can be anything from a simple geometric shape to a more complicated image.
Once you have your design, use a sharpie or other permanent marker to trace it onto the metal stamping blank.
Then, use a jeweler’s saw to cut out the design. If you’re not comfortable using a saw, you can always ask your local jeweler to do it for you.
Once your stamp is cut out, use a file to smooth any rough edges. Finally, use an inkpad to test out your new stamp!
Tips for Stamping Metals Like Copper, Brass, and Aluminum
Custom metal stamping is a great way to add a personal touch to your jewelry, crafts, and other projects. But how do you get started?
Here are a few tips:
- Choose the right metal.
Some metals are easier to stamp than others. If you’re just starting out, it’s probably best to stick with something soft, like aluminum or brass.
- Decide what design you want to stamp.
You can either use a pre-made design or create your own. If you’re making your own design, keep it simple at first. Once you’ve mastered the basics, you can start getting more creative.
- Choose the right size stamp.
This will depend on the size of your project and the amount of detail in your design. If you’re not sure, it’s better to err on the side of caution and choose a smaller stamp. You can always go back and make it bigger later.
- Place your metal on a hard surface.
This will help to prevent distortion when you’re stamping. You might also want to use a block or other object to support your metal while you’re working.
- Hit the stamp with a hammer.
Don’t swing too hard or you might damage the stamp or your project. Start with light taps and then increase the force as needed. If you’re having trouble getting a clear impression, try using a ball-peen hammer instead of a regular hammer.
- Practice on scrap metal before on your project piece.
This will help you get a feel for how much pressure to use and how each type of metal reacts when stamped.
The Bottom Line
Custom metal stamping can be a great way to create unique and customized pieces for your business or personal use.
In this how-to guide, we’ve outlined the basics of the process so that you can get started with your own project.
We hope you find this information helpful and that you are able to create something beautiful and lasting with custom metal stamping.
Suggested Reads:
PCNOK – Oklahoma’s Parent Care Network Innovating Health For Oklahomans