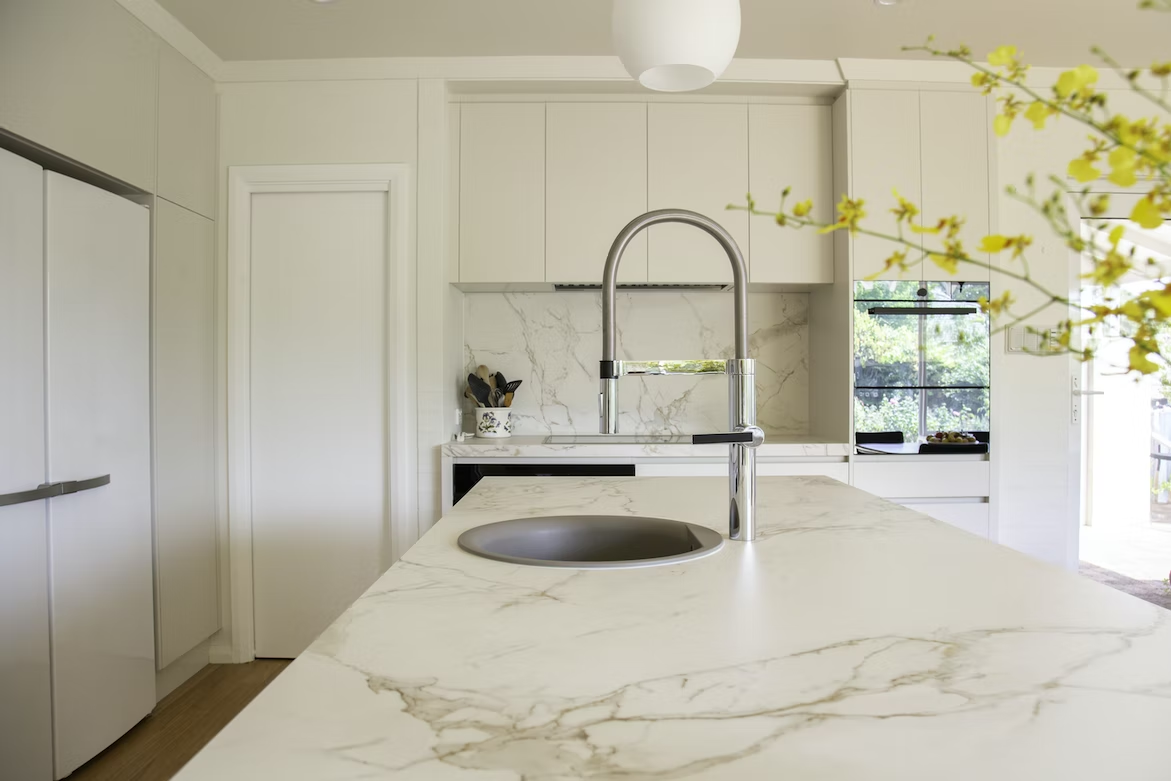
The most unique materials often come out of the most unexpected of places. Epoxy is a fantastic and versatile material that can be used for a variety of things and purposes. Whether you have a flare for design or you’re looking to create some unique pieces, epoxy is the material for you! One way you can use epoxy in the home that isn’t purely for decoration is in your kitchen as a countertop!
Epoxy resin is a safe and sturdy material that can mimic the look of many high-end materials. Whether you’re looking to create a gorgeous kitchen on a budget, or you’re curious about alternative materials, you’ve come to the right place! Here’s everything you need to know about creating epoxy countertops like a pro! Follow this guide and make your kitchen the envy of your guests in no time!
Contents
Do your research
Whether you’re a pro kitchen re-do-er or a novice at home renovations, you’ll need to do your research before making your epoxy countertops. Start by looking up the type of countertop design you want, and what kind of effect you’re trying to do. Whether you want a solid cover or a marble effect, find some inspiration online and figure out what you’ll need to achieve it. Next, look at your kitchen to see if you have enough space for your desired countertops.
Research and look for step-by-step guides on how to use epoxy resin in the kitchen, and make sure you understand every step. Ask someone for some advice on how to do certain practices, or get a professional on the job. Doing your research beforehand and planning things out will make sure that you install your new countertops without a hitch!
Prep your materials
Once you know what kind of materials you’ll need for your epoxy countertops, it’s time to prep! Start by figuring out exactly how much epoxy resin and materials you’ll need. Measure your countertops and use an online deep pour epoxy calculator to figure out the exact amount. Don’t start mixing anything until you have to, you don’t want your epoxy to harden before you’re ready to use it!
Make sure you have all the tools you’ll need ready to go and make sure you know how to use them. Consult a professional to help you with any tools or techniques you don’t understand. Make sure to clean out the area and cover everything else that you don’t want to be covered with epoxy. Get your materials set and ready for use so that you streamline your work with no bumps in the road!
Prep your countertops
Now that all your materials and station are prepped and ready, you can start working on your countertops! Start by smoothing out and routing the corners and sanding down the surface. If you want your resin to stick well to the surface, you need to make sure the area is smooth and rounded with no sharp corners. The main tools you’ll need to make this happen are a router and a sander.
Once your surfaces are smoother and rounder, make sure to fill in any gaps between your countertops and wall. Fill the gaps with an all-purpose body filler, and make sure to sand it down too so that it blends in seamlessly with your counter. Prepping your counter is the most important part of applying resin or finish to it. Once your countertop is prepped, you can apply your primer and get to applying your resin!!
Applying the resin
Depending on the type of effect or style you’re going for, there are a few key ways to apply resin to a countertop. The general gist is that you will apply your primer, then base, then resin. If you’re just going for a simple glaze over your base and primer, it’s a simple matter of mixing and applying. If you’re going for the marble effect or something more complicated, you’re going to have to do a bit more work mixing to get the effect right.
You can apply your base coat after your primer has become slightly tacky but doesn’t leave a residue when you touch it. This will be after about an hour or so of being applied on your countertops. Apply your base and roll it in with a roller to make sure the whole surface is covered. In the meantime, you can start mixing your resin to get the desired effect. Once you’ve mixed your epoxy resin, you need to work fast otherwise it will start to dry and cure before you’ve set it down.
Add the finishing touches
When remodeling your kitchen the fishing touches are the most important when it comes to resin countertops. Once you’ve applied your epoxy resin, before it dries down, you can play around with it to get a certain effect. By using things like paint brushes, hair dryers, or even straws, you can manipulate the resin to create different effects. Look into the different styles and effects out there to get an idea of what you can do. Make sure to do it while it’s still wet though!
To prep your countertop for drying, do a light spray of alcohol on the surface to get rid of any bubbles. Examine the surface for any bugs, hairs, or bits of debris that have fallen in and try to remove them. Once the resin starts to drip down, remove the excess with a mixing stick or spatula and keep an eye on your counter. Once the resin has fully cured and dried, sand down the surface to make it smooth, and apply your topcoat for the finishing touch!

So there you have it! With this guide in mind, you’re ready to transform your kitchen with resin in no time! To create an epoxy resin countertop, you have to start off with the right research and preparation. Prep your materials to make sure you have everything on hand and start by prepping your countertop for the resin. Once everything is prepared, add your epoxy resin and watch the magic happen! Add the finishing touches to your resin countertops before they harden and leave them to dry. Remember to keep an eye on your countertop and watch out for any imperfections! Keep this guide in mind and your counters are sure to impress!
Also Read:
Splunk 1b Silver Splunkdeutschersiliconangle, Splunk raises $1B from Silver Lake
Israelbased Earnix 75m 1bsolomon Timesisrael, Israel-based Fintech startup Earnix raises $75m, values at $1B, Solomon TimesofIsrael